
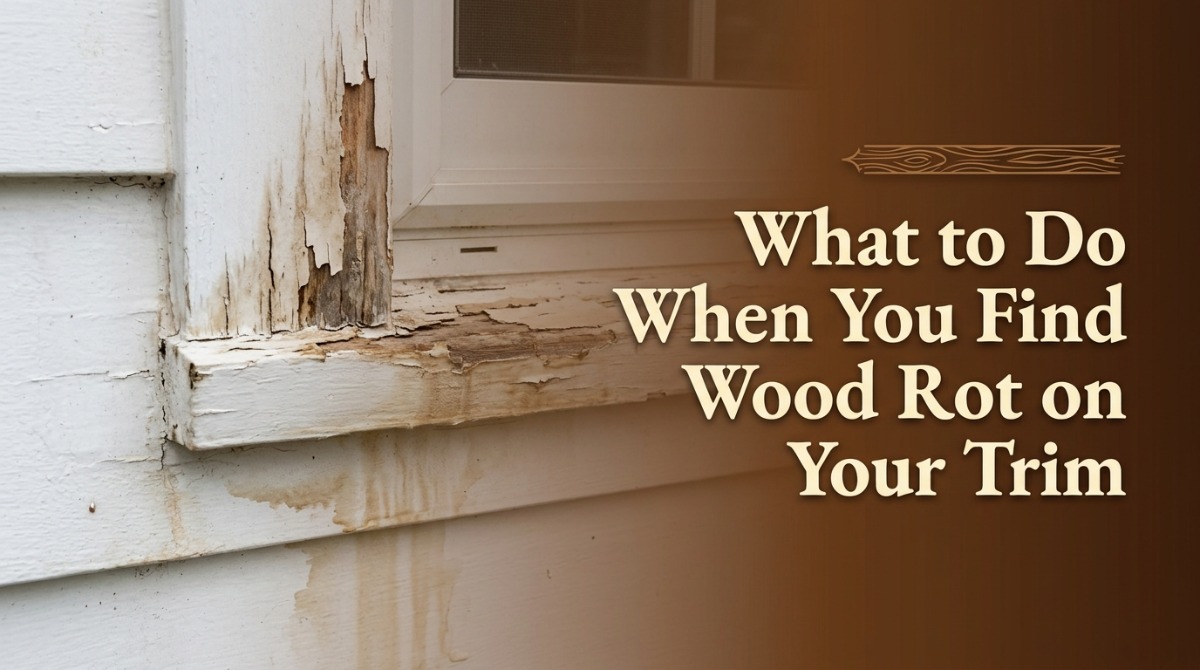
One of our crew leaders was up on a ladder at a window casing during an estimate. From the driveway, the trim looked fine. Clean paint, sharp lines, nothing to worry about.
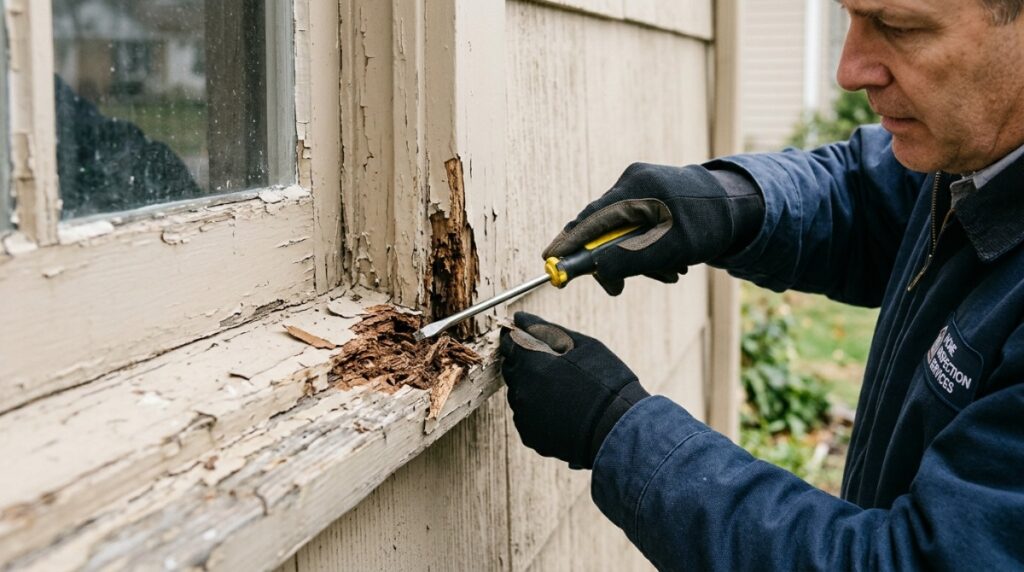
He pressed a screwdriver into the bottom corner of the casing. It sank in like the board was made of cork.
The homeowner was surprised. It had looked perfect. And it did look perfect, because the paint was still holding the shape of the board while the wood behind it had gone soft.
If you have just found wood rot on trim around your own house, here is the short version. Probe the wood to see how deep the damage goes. Find and fix the water source. Cut out and replace the rotted wood, or fill very small spots. Then prime every surface and recoat. Please do not paint over it.
I’m Marc Mercier. My wife Sheryl and I run Rhino Shield of Michigan out of Brighton, and our crews look at a lot of trim every season. Below is how we think through rot, step by step, in plain language.
The Short Answer: What to Do When You Find Wood Rot on Trim
What should you do when you find wood rot on exterior trim?
Probe the wood with a screwdriver to find where firm wood begins. Fix the water source, then cut out and replace the rotted section, or fill very small spots with exterior wood hardener and epoxy. Never paint over rot. Prime every surface and recoat once the wood is dry.
The board itself is rarely the real problem. Water is. Fix that, and the repair has a chance to last.
Quick Diagnosis: How Bad Is the Wood Rot on Your Trim?
When our crews check for wood rot on trim, they don’t trust their eyes alone. Paint hides a lot. So they probe.
On solid wood, the screwdriver tip stops hard and the board sounds sharp when tapped. On rotted wood, the tip slides in with almost no effort. The fibers feel stringy or crumbly, and the board sounds dull and hollow.
Here is a simple way to read what you find:
| What you find | How deep | What it means | Typical fix |
|---|---|---|---|
| Paint cracked or bubbling, wood firm | Surface only | Moisture is getting in, no rot yet | Dry it, caulk, prime and repaint |
| Wood soft at the surface, screwdriver goes in a little | Early rot | Decay has started in the outer fibers | Cut back, harden and fill if the area is small |
| Screwdriver sinks in easily, wood crumbles | Advanced rot | The board has lost its strength | Replace the board or that section |
| Soft wood at joints, end grain or the bottom of a corner board | Likely deeper | Water has been sitting there a long time | Replace, then check the sheathing behind it |
If the paint is lifting but the wood underneath is still firm, you may be dealing with a coating problem first. Our guide on paint flaking off wood siding walks through that side of it.
How to Probe Trim the Right Way
Use a flat screwdriver or an awl. Press along the grain first, then at the end grain where boards meet.
Start at the worst spot and work outward. Keep going until the tip stops sinking. Then test a few more inches past that point, because rot usually spreads farther than it looks.
Check the bottom of corner boards, the lower corners of window and door casings and anywhere trim meets the roof, a deck or the ground. Those are the spots where water collects.
When to Bring In a Pro
Some situations are better left to a carpenter or an experienced crew:
- Rot that reaches framing, sheathing or the sill plate
- Soft trim around a window where you also see water stains inside
- Trim on a second story or a steep roof line you cannot reach safely
- Damage that keeps coming back in the same spot
Why Wood Rot on Trim Shows Up on Michigan Houses
When our crews pull off a rotted corner board, the story behind it is usually the same. There is a failed caulk line. Or there is no flashing where two materials meet. Or a gutter has been spilling onto that board for years.
The trim was just the place where the water landed.
Water Gets In and Cannot Get Out
Rot is caused by fungi, and those fungi need wet wood to grow. According to the wood-decay fungus entry on Wikipedia, decay needs moisture above the fibre saturation point of the wood.
The USDA Forest Products Laboratory puts that point at roughly 30 percent moisture content. Air dried wood usually stays at or below 20 percent, where decay does not happen.
For painting, the bar is tighter. Dunn-Edwards technical guidance gives 15 percent as the upper limit for exterior wood before paint goes on.
End Grain, Joints and Edges
The cut end of a board acts like a bundle of straws. It pulls water deep into the wood.
Joints and miters have the same problem. Water slips into the seam, and the tight space keeps it from drying out. That is why rot so often starts at the bottom of a casing or where two boards meet.
Michigan Weather Makes It Worse
Our winters are hard on trim. Water gets into small cracks, freezes and opens those cracks a little wider each cycle.
Then come the wet springs, the lake effect humidity along the west side of the state and snow piled against the lower trim for weeks. We see more of this on the north and weather side of a house, where boards dry slowest. If you’ve noticed paint giving up after a single season, our post on paint that peels after one Michigan winter covers that pattern.
Moisture Sources Checklist
Before anyone touches a board, find the water. Here is where we usually look:
| Where the rot is | Most likely water source |
|---|---|
| Along a joint or miter | Failed or missing caulk or sealant |
| Where trim meets a roof or wall | Missing or poorly lapped flashing |
| Fascia side trim, top of casings | Gutter overflow or roof splash |
| Lower trim on one side of the house | Lawn sprinklers hitting the wall |
| Bottom of corner boards | Trim touching soil, mulch or deck boards |
| Cut ends of newer boards | Bare end grain that was never sealed or primed |
What To Do Right Now
You don’t need to fix everything this week. But a few early steps make a real difference.
1. Probe and Mark
Mark the edges of the soft area with painter’s tape. Take dated photos. This helps you track whether it is spreading, and it helps any contractor quote it accurately.
2. Stop the Water
Clean the gutters. Re-seal open joints with a good exterior sealant. Turn sprinklers away from the wall.
If rain is coming and the damage is open, a temporary cover is better than nothing.
3. Let It Dry
Never fill or coat damp wood. It traps the moisture inside and the rot keeps going.
A pin moisture meter is inexpensive and settles the question fast. Aim for the 15 percent mark mentioned above before any primer goes on.
4. Think About Safety First
If your home was built before 1978, the old paint may contain lead. Under the EPA’s Renovation, Repair and Painting Program, firms paid to disturb painted surfaces in those homes must be certified and follow lead safe work practices.
If you’re doing it yourself, read the EPA guidance before you sand or scrape anything. Ladder work on upper trim deserves the same respect.
5. Decide: Repair or Replace
Use the table in the repair section below. The depth of the rot and the cause behind it decide the answer, not the size of the stain.
What Not To Do
A few shortcuts we see often, and why they don’t hold up:
- Painting over rot. The paint looks fine for a while, then fails again, and the rot keeps spreading underneath.
- Filling wet wood. Filler over damp wood seals the water in.
- Using caulk as filler. Caulk is for joints. It cannot rebuild rotten wood.
- Leaving cut ends bare. Seal and prime every face of a new board, including the ends.
- Using the wrong fasteners. Exterior trim needs stainless or coated fasteners that won’t rust and stain.
- Dry sanding old paint. On older homes, take lead precautions first.
Practical Example: One Estimate Walk-Around
Here is how a typical estimate goes when our crew finds rot.
The crew leader probes every piece of trim, not only the boards that look bad. Each soft spot gets marked.
Then the boards get sorted. A handful usually need full replacement. Many more only need patching. Some just need fresh caulk at the joints.
Next, the crew looks for the reason. Is the flashing missing above that window? Is the gutter spilling onto that corner? Those notes go on the estimate too.
Finally, the work gets sequenced. Carpentry comes first. Cleaning, patching, caulking and priming come after. The coating goes on last, once every surface is sound and dry.
The lesson we share with homeowners is always the same. Look for the water. Fix the water. Repair the wood. Then protect it.
Repair vs Recoat vs Replace
There is no single answer for every board. This is how we usually decide:
| Condition | Best approach | Notes |
|---|---|---|
| Small, shallow rot with firm wood around it | Harden and fill with exterior wood hardener and epoxy | Keep it to small, non structural spots |
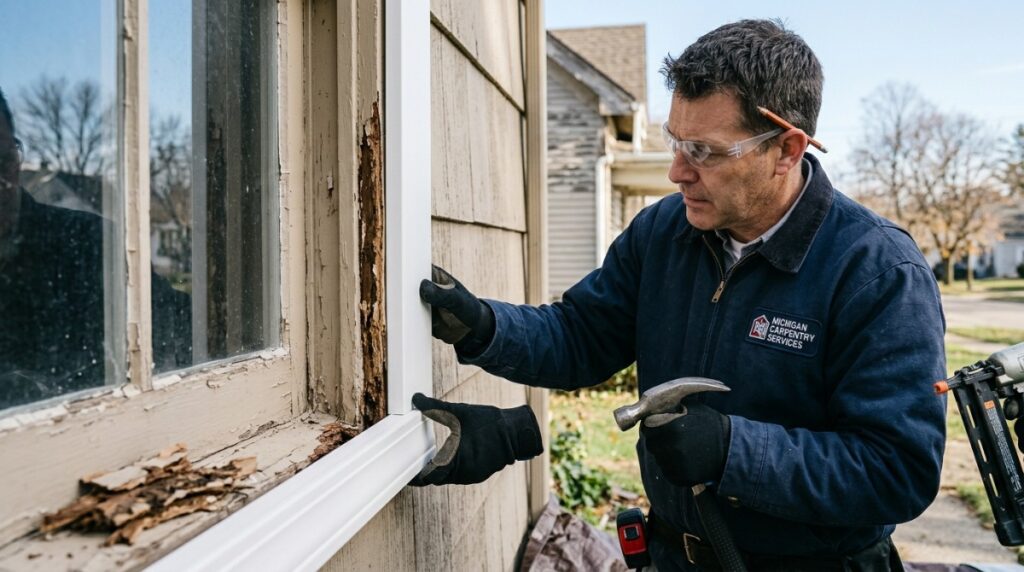
| Rot along a board end or joint | Cut back to sound wood and splice in a new piece | Seal and prime all cut faces |
| Board soft along much of its length | Replace the full board | Match the profile or use a rot resistant material |
| Rot at corners or around windows | Replace the trim and check flashing and sheathing | Hidden damage is common here |
| Rot into framing, sheathing or the sill plate | Carpenter or structural repair first | A coating is not a fix |
A quick word on epoxy. It works well on small, localized damage with good prep. But the National Park Service, in its preservation notes on exterior woodwork, says professionals still do not agree on how well epoxy holds up over the long run. For deep or broad rot, I’d rather see the bad wood replaced.
Choosing Replacement Material
Primed pine, cedar and cellular PVC trim all show up on Michigan homes. Each one has trade-offs in cost, movement and how well it takes paint.
I won’t tell you one is always best. The right choice depends on the house, the location of the board and your budget. Your carpenter or estimator should walk you through it.
If you’d like someone to probe every board and tell you honestly what needs replacing, we do that on every free estimate. You can book a 5 minute call to get started.
How a Ceramic Elastomeric Coating System Fits
I want to be straight about this part. Rhino Shield does not cure rot. No coating does.
Rhino Shield is a ceramic based acrylic elastomeric coating. It flexes with the house, bridges hairline cracks, breathes and resists water, mold and mildew. That makes it a strong layer of protection for sound wood. It is not a treatment for wood that is already decaying.
That’s why repairs come first. The coating has to go on wood that is in acceptable condition. Our applicators repair or patch wood where they can. If a board needs to be replaced, we flag it and include a replacement quote in the estimate. You can read more about how we handle repairs before coating.
In our 11-step coating process, patching, scraping and caulking all happen before masking. Then the whole area gets primed, not just spot primed. We use acrylic elastomeric caulk at seams, doors and windows. The finish coat goes on at a high mil thickness.
There are times Rhino Shield is not the answer yet:
- When rot has reached the framing
- When the moisture source has not been fixed
- When a carpenter or roofer needs to act first
About the warranty. Our 25-year No Chip, Crack, or Peel warranty is written, transferable and non prorated. It covers chipping, cracking, peeling and flaking under its terms. It does not cover rot, and I would rather you hear that from me now than later.
Cost and Timing in Michigan Seasons
Fixing wood rot on trim is priced by the amount of carpentry, the access needed and the material. On our estimates, wood replacement is listed as its own line, so you can see exactly what you’re paying for.
For the coating itself, our Rhino Shield pricing page lays it out. On average, it runs about two to two and a half times the cost of a traditional paint job.
For a typical three bedroom home with about 2,000 square feet of wall space, that is around $13,000 to $18,000. A typical latex paint job runs about $5,000 to $9,000, but it usually needs repeating every five to seven years.
Timing matters too. Dry stretches in the warmer months suit both carpentry and coating. Active leaks are different. Those are worth addressing in any season.
We currently advertise up to 25% off and 0% financing for homeowners who want to spread the cost out.
Frequently Asked Questions
Can you paint over rotted wood trim?
No. Paint over rot fails again, usually within a season or two. It also hides the damage while the rot keeps spreading underneath.
How do I know if my trim has wood rot?
Press a screwdriver into the wood, especially at joints, end grain and the bottom of boards. If it sinks in easily, or the wood feels punky and crumbly, that’s wood rot on trim. Cracked paint, dark stains and rusty nail marks are also common signs.
Does epoxy wood filler last on exterior trim?
For small, shallow spots with good prep, it can last well. Professionals still disagree on how it holds up long term, though. When the damage is deep or wide, replacing the wood is the safer choice.
What is the best material to replace rotted trim?
It depends on your budget, the look you want and where the board sits. Primed pine, cedar and cellular PVC each have trade-offs. Ask your estimator to explain the options for your specific house.
Does homeowners insurance cover wood rot?
Policies vary. Rot from long term moisture is often excluded, while sudden damage may be treated differently. Check with your insurance carrier before you assume either way.
Does the Rhino Shield warranty cover rot?
No. The warranty covers chipping, cracking, peeling and flaking under its written terms. Rot and moisture damage are not covered.
Will Rhino Shield replace rotten wood on my house?
We repair or patch wood where possible. If a board needs to be replaced, we flag it and include a replacement quote in your estimate. Our full FAQ explains this in more detail.
Do I need to worry about lead paint when repairing old trim?
On homes built before 1978, yes. Paid work that disturbs painted surfaces requires an EPA certified firm. If you’re doing it yourself, follow lead safe practices before you scrape or sand.
Talk to Us About Your Trim
If you’ve found wood rot on trim and you’re not sure how far it goes, we’re happy to take a look. Our crews probe every board, explain what they find and show you what needs carpentry before anything else happens.
There’s no pressure. Some homeowners just want a straight answer about what they’re dealing with.
We serve homeowners from Brighton and Livingston County to Ann Arbor, Royal Oak, Lansing, Grand Rapids, Traverse City and the Lake Michigan coastline. You can see what other homeowners say in our Google reviews.
Schedule a free estimate or call us at 810-360-6583.
Paint less. Shield your home for decades.
Marc Mercier, Owner, Rhino Shield of Michigan, Brighton, MI. Family owned, 25+ years in home improvement, BBB A+ accredited, MI Lic #2102200455.